

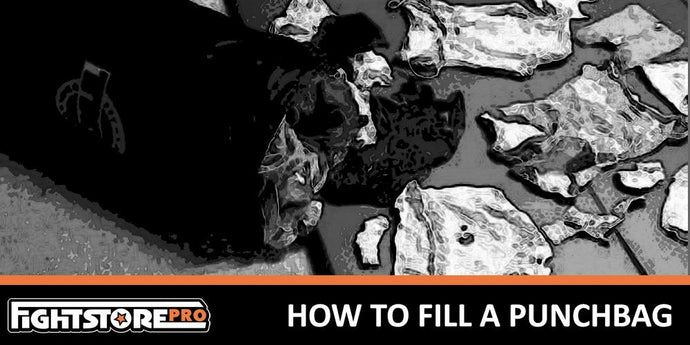
What is the best way to fill a Punch bag or kick bag?
Choosing the unfilled option for a heavy bag saves you a decent whack of cash but it does then give you an additional task once the bag arrives, one which is a little trickier than it appears on first view.
Let’s start with a cautionary word of warning: online searches will reveal endless articles and videos – usually by the people selling bags or fillers – telling you how quick and easy it is to fill a bag. Simply put, It’s not easy to fill a bag well!
But with the right equipment and some patience it is possible and you will save a money by going down the DIY route, especially if you live somewhere that makes shipping costs prohibitive for heavy items or you need to buy several bags.
For those of you with too little time to read the full article, here’s a quick summary of the main points to consider:
1 – Buy the best (unfilled) bag you can afford in a high quality vinyl, canvas or leather.
2 – Select your filler. We’d opt for specialist filler (highly shredded fabrics). You can also introduce other fillers to weigh the bag down and help keep its shape. (see below for filler types)
3 – You’ll also need a strong tube (think plastic drainpipe), freezer bags, duct tape and a pounding stick (think baseball bat or similar).
4 – First, create a weight at the bottom of the bag: fill a freezer bag with dry sand, seal it tightly and place it at the bottom of the bag.
5 – Cut your plastic tube to length. For example, if you’re filling a 4ft bag you want the tube to be around 3.5ft. Fill the tube with sand and tightly seal both ends. Place the tube upright in the centre of the bag. This will help keep the bag’s core rigidity.
6 – Layer & compress! Layer your specialist filler around the tube, stopping every 20cms to make sure it’s tightly packed (using your pounding stick to aid the process).
7 – Fill to top (always being mindful of the layer and compress process), zip it up, hang and smack the hell out of it.
Note: even if you have done a stellar filling job, the bag will invariably sag a little over time as it self-compresses further, so continue to top up with more filler every so often.
Which Filler?
Well, let’s start with the obvious: no concrete, or indeed any similarly robust material that is sure to shatter your knuckles on first impact. Instead, let’s consider some of the more common filler options. With all these options the first consideration should be fill consistency: the key objective is to achieve an even fill; avoiding lumps, bumps and air pockets.
Rice: can be expensive and if water gets in to it; it’s game over. It can also be quite uncomfortable on the hands and wrists to punch.
Shredded Tyres: good to punch, but difficult to get and not always small enough to get a true, consistent fill across the bag.
Sand: Will turn into sandstone within a relatively short period once moisture in the air gets to it. Do not fill a heavy bag using sand alone. (but can serve an important purpose in part – see below!) You can also acquire plastic sand which is overall much better than the natural stuff!
Newspaper & Plastic Bags: Are not dense enough to create a good filler can be used as an additional filler amongst other fillers, but not ideal on its own. You’ll soon notice saggy points across the bag once used a few times.
See our full range of heavy bags here
Clothes / Rags: from charity shops or recycling centres etc. A good choice, but make sure you cut the clothes into smaller pieces and remove any buttons, zips and other metal or hard plastic items. Getting industrially shredded rags is the ticket if you can find them.
Specialist Filler: Very finely shredded cotton fibres. Can be quite an expensive option but is made for the purpose and therefore gets our vote.


